Apple's RDMA Revolution: How Mac Clusters Are Changing Local AI Hosting
Apple's macOS 26.2 introduces RDMA over Thunderbolt 5, enabling cost-effective Mac clusters for private AI hosting. Technical guide plus real-world performance data included.

Stabilise
Part 1: Understanding Apple's RDMA Play
What Changed and Why It Matters
Apple's macOS 26.2 release quietly introduced a capability that transforms how businesses can think about hosting AI: RDMA (Remote Direct Memory Access) over Thunderbolt 5. This isn't just another incremental update – it's the missing piece that makes clustering Mac Studios and Mac Pros viable for serious AI inference workloads.
Previously, connecting multiple Macs meant relying on standard Thunderbolt networking over TCP/IP. Whilst this worked, the latency overhead meant that adding more machines often slowed things down rather than speeding them up. Each node waited for the others to finish their portion of work, creating a pipeline bottleneck.
RDMA over Thunderbolt 5 changes this fundamentally. With reported latencies dropping to 5-9 microseconds and bandwidth reaching 80Gb/s, multiple Macs can now share memory access with minimal delay. The practical result: you can split AI models across machines and have all GPUs work simultaneously on the same layer, rather than waiting in sequence.
The Cost-Performance Story
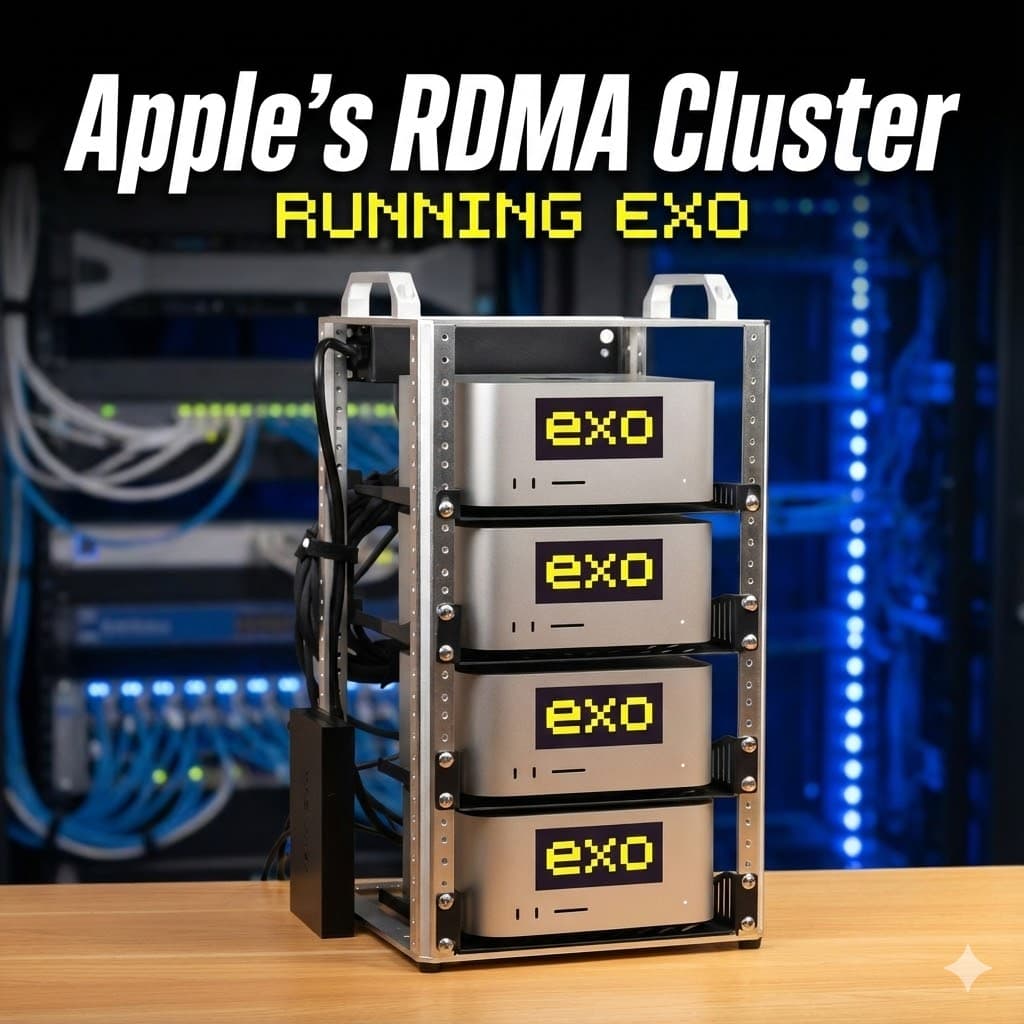
Here's where it gets interesting for business planning. A four-Mac Studio cluster (M3 Ultra with 512GB unified memory each) provides:
- 2TB total unified memory across the cluster
- Peak power draw of approximately 600W under heavy inference load
- Idle consumption around 66W for all four nodes
- Hardware investment of roughly £40-50k (depending on configuration)
Compare this to equivalent cloud GPU hosting, where a single high-end GPU instance can cost hundreds to thousands of pounds monthly. A Mac cluster amortised over 36 months and supporting 50-100 users brings cost per seat down to tens of pounds monthly, with energy costs in the low single-digit pence per intensive hour of shared usage.
Real-world performance numbers from early adopters:
- Devstral 123B (4-bit): 9.2 tokens/s on one node → 22 tokens/s across four nodes
- Devstral 123B (6-bit): 6.4 tokens/s on one node → 17 tokens/s across four nodes
- Quen 480B coder (dense, 4-bit): ~40 tokens/s across four nodes
- DeepSeek v3.1 (671B, 8-bit): ~25 tokens/s across four nodes
- Kimmi K2 (trillion-parameter MoE): ~34 tokens/s across four nodes
These aren't synthetic benchmarks – they're usable speeds for production work. A development team running code completion or a legal practice searching proprietary documents would experience snappy, sub-second responses.
Privacy and Security: Why On-Premises Matters
The "direct memory access" terminology sounds concerning from a security perspective, but Apple's implementation maintains strict protections. Apple silicon uses an IOMMU (Input-Output Memory Management Unit) for each DMA agent, including Thunderbolt controllers. Peripherals can only access memory explicitly mapped for them, and unauthorised access attempts trigger a kernel panic.
This architecture lets you offer something meaningful to regulated industries:
Data residency: Client data never leaves your controlled environment – no multi-tenant cloud risks, no uncertain data jurisdiction.
Physical isolation options: For high-sensitivity sectors (legal, finance, healthcare), dedicate specific nodes to individual clients. For others, maintain logical isolation with strong authentication, per-tenant encryption keys, comprehensive logging, and clear data retention policies.
Compliance frameworks: Private inference clusters simplify GDPR compliance, Cyber Essentials Plus certification, and meet NIS2 requirements for critical infrastructure sectors.
Realistic Use Cases for London Businesses
Architecture and engineering firms: Host private AI for processing technical drawings, building specifications, and project documentation without exposing proprietary designs to public cloud providers.
Creative agencies: Run large language models against brand guidelines, client briefs, and creative assets whilst maintaining absolute confidentiality for pre-launch campaigns.
Legal practices: Deploy AI-powered document review and contract analysis where client privilege and data protection regulations prohibit cloud processing.
Financial services: Provide AI-enhanced analytics on sensitive transaction data and investment strategies within your compliance perimeter.
Software development teams: Offer sophisticated code completion and codebase search for teams working on proprietary intellectual property.
What Apple Isn't Saying (and Why That Matters)
Apple positions this capability carefully. RDMA over Thunderbolt 5 is still considered early-stage technology – enabled through recovery mode commands rather than standard system preferences. This deliberate friction signals Apple's caution about supporting it broadly.
The performance numbers widely reported come from community testing, not Apple's own benchmarks. Production readiness depends on factors beyond raw speed: driver stability, support boundaries, and tooling maturity all require careful evaluation.
Most importantly, this remains an inference play, not training. Macs lag dedicated GPU servers for large-scale model training throughput. The value proposition centres on cost-efficient, private model serving for businesses already trained elsewhere.
Part 2: Technical Implementation Guide
Prerequisites and Hardware Requirements
Minimum viable cluster:
- 2-4 Apple silicon Macs with Thunderbolt 5 (M3 Ultra Mac Studios, M4 Pro/Max Mac minis or Studios)
- macOS Tahoe 26.2 or later on all machines
- Thunderbolt 5 cables for mesh connectivity
- Ethernet network for management access (1GbE minimum, 10GbE recommended)
Important: M1/M2 machines and those with only Thunderbolt 4 can participate in Exo clusters but will fall back to TCP/IP transport rather than RDMA, significantly reducing performance benefits.
Network Topology Planning
Connect your Macs in a Thunderbolt mesh or ring topology:
Two-node setup: Single Thunderbolt 5 cable directly between machines.
Four-node setup: Each Mac connects to its two neighbours in a ring (Mac A → Mac B → Mac C → Mac D → Mac A).
Additionally, connect all Macs to the same Ethernet VLAN or subnet for:
- SSH management access
- Exo API communication
- Monitoring and logging
- Client application connectivity
Critical security note: Keep the Thunderbolt 5 RDMA fabric physically separate from your general network. This isn't just good practice – it's essential for maintaining the security model Apple's IOMMU protections provide.
Step 1: Enable RDMA (Per Machine)
Enabling RDMA requires physical access to each Mac and cannot be performed remotely. This deliberate security gate prevents unauthorised activation.
For each Mac in the cluster:
- Shut down the machine completely
- Boot into macOS Recovery:
- Hold the power button until "Options" appears
- Click Options → Continue
- From the menu bar, select Utilities → Terminal
- Execute the RDMA enable command:
rdma_ctl enable - Restart into normal macOS
Security warning: The rdma_ctl enable command bypasses normal entitlement checks. Only enable RDMA on machines you directly control in trusted environments. This is not appropriate for client-managed devices.
Step 2: Base System Configuration (Per Machine)
Create consistent admin user:
# Create matching admin users on all nodes # Use identical usernames for simpler cluster management sudo dscl . -create /Users/clusteradmin sudo dscl . -create /Users/clusteradmin UserShell /bin/zsh sudo dscl . -create /Users/clusteradmin RealName "Cluster Administrator" sudo dscl . -create /Users/clusteradmin UniqueID 505 sudo dscl . -create /Users/clusteradmin PrimaryGroupID 80 sudo dscl . -passwd /Users/clusteradmin [secure-password] sudo dscl . -append /Groups/admin GroupMembership clusteradmin
Enable SSH:
- Open System Settings → General → Sharing
- Enable Remote Login
- Restrict to administrators only
Configure passwordless SSH from controller node:
# On your primary "controller" Mac ssh-keygen -t ed25519 -C "cluster@stabilise.io" # Copy to each cluster node ssh-copy-id clusteradmin@mac-studio-01 ssh-copy-id clusteradmin@mac-studio-02 ssh-copy-id clusteradmin@mac-studio-03 ssh-copy-id clusteradmin@mac-studio-04 # Verify passwordless access ssh clusteradmin@mac-studio-01 'hostname'
Step 3: Install Python and MLX (Per Machine)
Using Conda (recommended for isolation):
# Install Miniconda if not present brew install miniconda # Create environment with Python 3.11 conda create -n exo python=3.11 conda activate exo # Install MLX and dependencies pip install mlx mlx-lm
Verify MLX installation:
python -c "import mlx.core as mx; print(mx.metal.device_info())"
Expected output should show your Mac's GPU and memory information.
Step 4: Install Exo on All Nodes
Exo (exo-explore) provides the orchestration layer that transforms individual Macs into a cohesive AI cluster.
Installation:
# Activate conda environment conda activate exo # Clone and install Exo git clone https://github.com/exo-explore/exo.git cd exo pip install -e .
Start Exo agent:
# Start in background with logging nohup exo start > exo.log 2>&1 & # Monitor startup tail -f exo.log
Exo agents automatically discover each other on the local network and form a cluster topology without explicit configuration.
Step 5: Verify Cluster Formation
Check discovered nodes:
# From any cluster node exo devices list
Expected output shows all Macs with their:
- Hostname and IP address
- Available unified memory
- GPU resources
- Connection status
Monitor cluster health:
# Real-time cluster status exo cluster status --watch
Step 6: Configure RDMA Transport
Access Exo dashboard:
- Open
http://localhost:8000on any cluster node - Navigate to Settings → Cluster Configuration
Select transport mode:
- Choose MLX RDMA (or "JACCL RDMA" depending on Exo version)
- Set parallelism strategy to Tensor Parallel
- Select all Thunderbolt 5-connected nodes
Verify RDMA activation:
# Check MLX distributed backend python -c "import mlx.core as mx; print(mx.distributed.is_available())"
Should return True if RDMA transport is properly configured.
Step 7: Load and Test Your First Model
Start with a mid-size model for validation:
# From Exo dashboard or CLI exo model load mistral-7b-instruct
Monitor distribution:
- Check memory usage increases evenly across all nodes
- Verify GPU utilisation spikes on all machines during inference
- Confirm latency remains low (sub-100ms for model responses)
Run test inference:
exo model infer mistral-7b-instruct \ --prompt "Explain RDMA in simple terms" \ --max-tokens 200
Performance validation checklist:
- [ ] All nodes show active GPU usage during inference
- [ ] Token generation speed increases with more nodes (not decreases)
- [ ] Memory distribution is roughly equal across nodes
- [ ] Network latency stays below 10 microseconds (check
exo cluster stats)
Step 8: Scale to Production Models
Once basic operation is confirmed, step up to larger models:
Large dense models (120-250B parameters):
exo model load deepseek-v3.1-8bit
Mixed-expert models (trillion-parameter class):
exo model load kimmi-k2-1t-moe
Long-context models for RAG workloads:
exo model load qwen-480b-coder
Production Hardening for Client Workloads
API gateway layer:
Don't expose Exo's API directly to clients. Instead, create a thin authentication and rate-limiting gateway:
# FastAPI example gateway from fastapi import FastAPI, HTTPException, Depends from fastapi.security import HTTPBearer import httpx app = FastAPI() security = HTTPBearer() # Exo cluster endpoint EXO_CLUSTER = "http://mac-studio-01:8000" @app.post("/v1/inference") async def proxy_inference( prompt: str, model: str, credentials: HTTPBearer = Depends(security) ): # Validate API token if not validate_token(credentials.credentials): raise HTTPException(status_code=401) # Rate limiting per client if not check_rate_limit(credentials.credentials): raise HTTPException(status_code=429) # Proxy to Exo cluster async with httpx.AsyncClient() as client: response = await client.post( f"EXO_CLUSTER/inference", json=("prompt": prompt, "model": model) ) return response.json()
Network segmentation:
# Firewall rules example (pf.conf on macOS) # Allow SSH from management subnet only pass in on en0 proto tcp from 10.0.10.0/24 to any port 22 # Allow API traffic from application tier only pass in on en0 proto tcp from 10.0.20.0/24 to any port 8000 # Block all other inbound block in on en0 all
Monitoring and logging:
# Prometheus metrics export (if Exo supports) exo metrics --format prometheus > /var/log/exo/metrics.prom # Custom monitoring script #!/bin/bash while true; do exo cluster status --json | \ jq '.timestamp: now| .nodes | .aggregate_load' \ >> /var/log/exo/cluster-stats.jsonl sleep 60 done
MDM and security baseline:
- Enable FileVault on all cluster nodes
- Enforce strong admin passwords (24+ characters)
- Deploy via Jamf Pro or other MDM for consistent configuration
- Disable unnecessary services and limit physical access
- Implement automated security patching schedule
Operational Procedures
Daily health checks:
#!/bin/bash # Check all nodes are reachable for host in mac-studio-01 02 03 04; do ssh clusteradmin@$host 'uptime' || echo "⚠️ $host unreachable" done # Verify Exo cluster status exo cluster status | grep -q "All nodes healthy" || echo "⚠️ Cluster degraded" # Check disk space for host in mac-studio-01 02 03 04; do ssh clusteradmin@$host 'df -h /' | tail -1 done
Model updates:
# Pull latest model versions exo model update --all # Verify model integrity exo model verify deepseek-v3.1-8bit
Cluster restart procedure:
# Graceful cluster restart exo cluster drain # Wait for in-flight requests exo cluster stop # Stop all Exo agents sleep 10 exo cluster start # Restart agents exo cluster health # Verify recovery
Troubleshooting Common Issues
RDMA not activating:
- Verify macOS 26.2 or later on all nodes
- Confirm
rdma_ctl statusshows enabled - Check Thunderbolt 5 cables are properly seated
- Ensure Thunderbolt firmware is up to date
Nodes not discovering each other:
- Verify all machines on same subnet
- Check firewall isn't blocking Exo discovery (UDP port 8888)
- Confirm SSH connectivity between all nodes
- Review Exo logs:
tail -f ~/.exo/logs/agent.log
Performance degradation:
- Monitor network latency:
exo cluster stats --network - Check for thermal throttling:
sudo powermetrics -n 1 - Verify memory pressure isn't high:
vm_stat - Review model distribution balance:
exo model status --detail
Memory errors under load:
- Reduce model quantisation (8-bit → 6-bit → 4-bit)
- Decrease concurrent request limit
- Add more nodes to cluster or upgrade to higher-memory SKUs
- Monitor swap usage: shouldn't exceed 10% under normal load
Cost and Capacity Planning
Hardware investment for different scales:
Starter cluster (2× M4 Pro Mac mini, 64GB each):
- Total investment: ~£4,000
- Unified memory: 128GB aggregate
- Suitable for: Up to 70B parameter models, 10-20 concurrent users
- Power budget: under 200W peak
Professional cluster (4× M3 Ultra Mac Studio, 192GB each):
- Total investment: ~£30,000
- Unified memory: 768GB aggregate
- Suitable for: Up to 240B parameter models, 50-100 concurrent users
- Power budget: ~600W peak
Enterprise cluster (4× M3 Ultra Mac Studio, 512GB each):
- Total investment: ~£50,000
- Unified memory: 2TB aggregate
- Suitable for: Up to 671B parameter models or trillion-parameter MoE, 100-200 concurrent users
- Power budget: ~600W peak
Running cost calculations (based on UK business tariffs):
Energy cost per intensive hour (600W cluster): = 0.6 kWh × £0.25/kWh = £0.15/hour Per user cost (50 users, 20% duty cycle, 24/7 availability): = (£0.15 × 24 hours × 30 days × 0.20) / 50 users = £21.60 per user per month (energy only) Add amortised hardware (£50k over 36 months, 50 users): = £27.78 per user per month (hardware) Total cost per user per month: = £49.38 (energy + hardware amortisation)
Compare to cloud GPU hosting where a single A100 instance costs £2,000+ monthly.
Next Steps
This guide provides the foundation for running production AI workloads on Apple RDMA clusters. For businesses considering this approach:
- Start small: Two Mac minis prove the concept at minimal investment
- Measure carefully: Track tokens per second, cost per request, and user satisfaction
- Scale deliberately: Add nodes as demand proves the model
- Maintain security: Treat AI infrastructure with the same rigour as any production system
The technology is real and the economics compelling, but remember this remains early-stage. Apple hasn't broadly promoted RDMA capabilities, community tooling is maturing rapidly but not fully production-hardened, and you're building operational expertise that few MSPs currently possess.
That combination of challenge and opportunity is precisely what makes this interesting for forward-thinking IT consultancies.
Note: This article reflects the state of Apple RDMA clustering as of December 2024. Both macOS capabilities and third-party tooling (particularly Exo) are evolving rapidly. Always verify current documentation before production deployment.
Frequently Asked Questions
What is RDMA over Thunderbolt 5 and why does it matter for AI?
RDMA (Remote Direct Memory Access) allows multiple Macs to share memory access with latencies as low as 5 to 9 microseconds over Thunderbolt 5 at 80Gb/s bandwidth. This means AI models can be split across machines with all GPUs working simultaneously on the same layer, rather than waiting in sequence. It makes Mac clusters viable for serious AI inference workloads.
How much does a Mac AI cluster cost compared to cloud GPU hosting?
A four-Mac Studio cluster with 2TB total unified memory costs roughly £40,000 to £50,000 upfront. Amortised over 36 months with 50 users, this works out to approximately £49 per user per month including energy costs. A single high-end cloud GPU instance can cost £2,000 or more monthly, making Mac clusters significantly cheaper for sustained workloads.
Can Mac clusters train AI models or only run inference?
Mac clusters are primarily an inference play, not a training solution. Macs lag dedicated GPU servers for large-scale model training throughput. The value proposition centres on cost-efficient, private model serving for businesses using models that were trained elsewhere.
What performance can I expect from a Mac RDMA cluster?
Real-world numbers from early adopters show usable speeds for production work. For example, Devstral 123B at 4-bit quantisation achieves 22 tokens per second across four nodes, and DeepSeek v3.1 at 671B parameters achieves roughly 25 tokens per second. These speeds deliver snappy, sub-second responses for tasks like code completion and document search.
Is it secure to use RDMA for business AI workloads?
Yes. Apple silicon uses an IOMMU for each DMA agent, meaning peripherals can only access memory explicitly mapped for them. Unauthorised access attempts trigger a kernel panic. Client data never leaves your controlled environment, which simplifies GDPR compliance, Cyber Essentials Plus certification, and NIS2 requirements.
What hardware do I need to get started with a Mac AI cluster?
The minimum viable cluster requires 2 to 4 Apple silicon Macs with Thunderbolt 5 (such as M3 Ultra Mac Studios), macOS Tahoe 26.2 or later, Thunderbolt 5 cables for mesh connectivity, and an Ethernet network for management access. A starter cluster with two M4 Pro Mac minis costs approximately £4,000.
Which businesses benefit most from private AI hosting on Macs?
Businesses handling sensitive data that cannot go to public cloud providers benefit most. This includes legal practices running AI-powered document review, financial services firms analysing transaction data, creative agencies protecting pre-launch campaigns, and architecture firms processing proprietary technical drawings.
For Stabilise clients interested in exploring private AI hosting on Apple infrastructure, contact our team for a technical consultation and capacity planning session.